
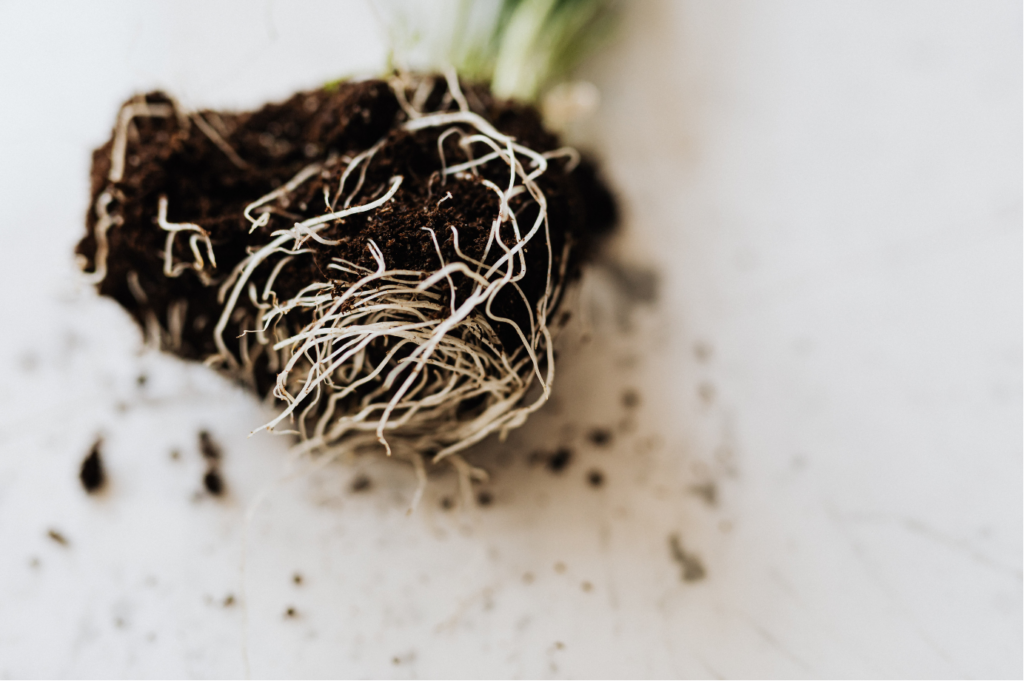
Most annuals have a fleshy, non-woody root system that develops from the branching of the taproot (the first root to emerge from the seed). Plants with fibrous root systems, such as grasses, have thin and moderately branching roots that develop from the stem without any primary roots. This article will teach you how to transplant annuals and other plants with these types of root systems.
Right Plant, Right Place
Before starting this process, it’s imperative to research the best growing conditions for your plant. Plants that are well suited to their site will establish quickly, have a healthy root system and be better equipped to withstand problems than plants struggling with the environment.
1. Choose Healthy Plants
PASS on plants with lots of blooms and buds – they will be weaker and have fewer blooms later.
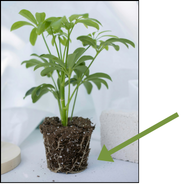
LOOK for roots that are white or light tan and slightly moist.
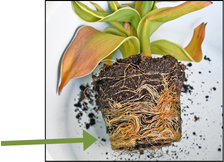
AVOID plants with dark, mushy roots as well as those that are root bound.
2. Moisten the Root Ball
- MOISTEN the root ball all the way through by soaking the pot in a pail of water for a few minutes.
3. Prepare the Root Ball for Transplanting
- REMOVE the plant from its pot (even biodegradable and compostable ones) and have a good look at the roots along the sides and bottom.
- GENTLY LOOSEN the root ball a bit and tease out easily accessible roots on the sides and bottom.
- CUT OFF any tightly coiled roots at the bottom that cannot be uncoiled.
- REMOVE buds and blooms so the plant’s resources will go to creating a strong root system, which will result in more blooms later.
4. Prepare the Planting Hole
- SPACE holes so plants will just touch adjacent plants at maturity
- DIG the hole about half again as wide as the width of the root ball, and just deep enough to position the root ball in the hole so that the top of the roots are at soil level.
- MIX fertilizer into the soil at the bottom of the hole following the instructions on the package. Timed release fertilizer will provide a steady flow of nutrients throughout the growing season, eliminating the need to fertilize later in the season.
- WATER the hole.
5. Plant
- PLACE the plant in the hole and back fill with the native soil it will be growing in, adding enough soil to create a slight mound to allow for settling.
- PRESS the soil down gently with your hands.
- WATER well.
- APPLY a 2-4 cm layer of compost around the plant if desired.
Resources
- National Gardening Association Editors. (2025). Transplanting Annuals. The National Gardening Association.
- Sellmer, J. and P. Lamont. (2023). Transplanting Annuals into the Garden.
PHOTO & Illustration CREDITS: Numbered by resource. All other images/diagrams: CANVA or VIMGA members. 2026 Vancouver Island Master Gardeners Association
Vancouver Island Master Gardeners
Vancouver Island Master Gardeners are local volunteers who educate the gardening public with current, science-based and environmentally responsible horticultural information. As a chapter of the Master Gardeners Association of BC (MGABC), our program and priorities shape healthy communities and a healthy planet.