 Vancouver Island Master Gardeners
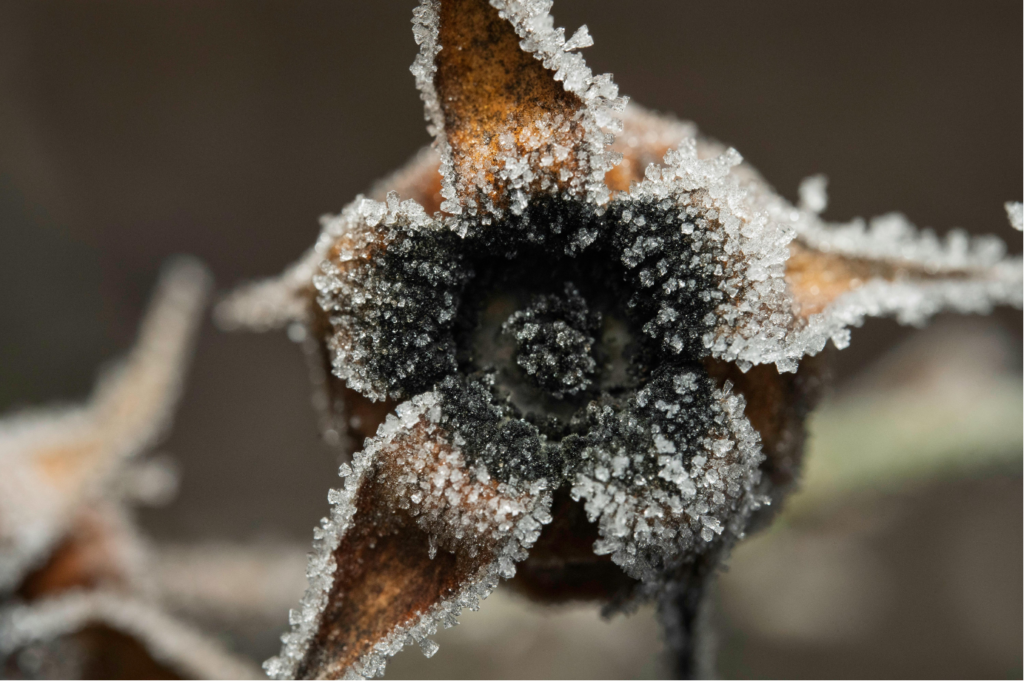
In this article we will explore the current evidence-based approaches to preparing the garden for winter. Below you will learn how to protect soils from erosion, save perennial bulbs and shrubs from damaging frosts and protect overwintering vegetables from pests and depredation, plus many more essential tips.
“More work now when it is still warm, less work in the spring when it is cold.”
PART 1: Preparing Flower Gardens
STEP 1: Mulch
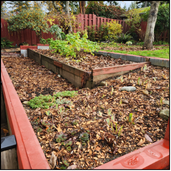
Mulch all flower beds with materials such as leaves, arborist wood chips, or aged bark mulch after weeding and cleaning the beds.
Why do this? Because mulch is magic! It protects soil from moisture loss (and compaction by winter rain) protects plants and some underground tubers from freezing, suppresses weeds, and enriches the soil with organic matter as it decomposes.
Mulched with a mixture of arborist wood chips and leaves.
STEP 2: Prune
Prune back shrub branches to maintain general plant health, e.g., remove diseased, damaged, dead or overly long branches from mid-October to late November. Only climbing and rambler roses are generally cut back in early winter. For all shrubs & trees research the best time for pruning for aesthetics (refer to resource 3).
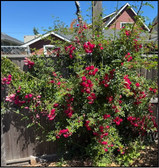
Rambling rose BEFORE pruning.
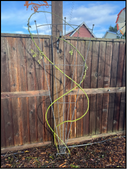
Rambling rose AFTER pruning.
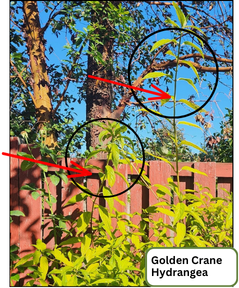
Removing long and leggy branches will prevent breakage from winter winds and heavy snowfalls.
STEP 3: Dig Up & Save
Dig up tubers such as dahlia, begonia, and geranium as they will not survive the winter in most gardens in the ground. These need to be stored carefully over the winter.
Dahlia | – Trim dahlia blossoms – Loosen clumps with a pitchfork, leave for one week for eyes to develop – Dig up tuber clumps – Wash and divide tubers (each tuber must include one or two eyes for new growth in the spring) – Store tubers in a i) ventilated container with dry material (e.g., coconut core, vermiculite, wood shavings) and ii) cool dark place that won’t freeze (5-7°C) – Check regularly during the winter for dehydration – Spritz with water if tubers are shrivelling from lack of moisture |
Geranium | – Dig up and wash roots – Hang up to dry in garage OR plant in pots for overwintering. – Store in a greenhouse or bring into the house. – Take cuttings for extra plants in spring |
Tuberous Begonia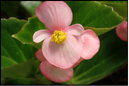 | – Dig up before first frost (before end of October) – Cure for one week by leaving in a dry location – Check tubers for rot or disease – Wash and dry – Store in a box with dry material (e.g., wood shaving, vermiculite, coconut coir) – Store in a cool, dry, dark place that won’t freeze |
NOTE: Fibrous begonias can be brought indoors and treated like a houseplant, however, they must be acclimatized. To acclimatize plants brought indoors place them in the coolest part of the house, or bring them into the house for part of the day, until falling temperatures mean it is time to bring them indoors full time.
STEP 4: Transplant
Transplant and move plants to better locations in the garden as this allows the roots to become established over the fall and dig and pot up plants to donate or share with friends in spring.
PART 2: Preparing Vegetable Gardens
STEP 1: Finish Harvesting
Gather any remaining summer produce from the garden before colder weather damages them.
STEP 2: Prepare
Prepare the summer vegetable beds for winter by removing any diseased plant material (disease-free spent plants can be chopped up and left on the garden as mulch). Then weed and cover the beds with a protective layer e.g., leaves, seedless straw, grass clippings, or landscape fabric.
Why do this? The answer is to prevent soil compaction and erosion from winter rains, prevent wind borne weeds from getting
established, and to warm the soil in early spring.
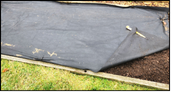
Using landscape fabric to add a protective layer to the garden bed over the winter.
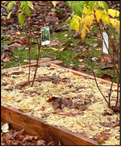
Using seed-free straw mulch for winter protection.
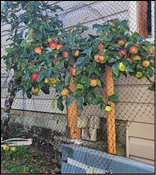
Apply protective netting over fruit trees.
STEP 3: Protect
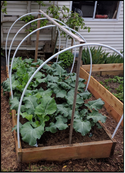
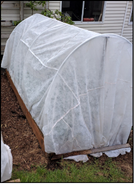
Protect winter vegetable beds by covering them with fabric tents e.g., ReeMay, when night time temperatures approach 0°C. Add a second layer of protection, e.g., plastic, if the temperature is predicted to drop below -10°C.
STEP 4: Plant
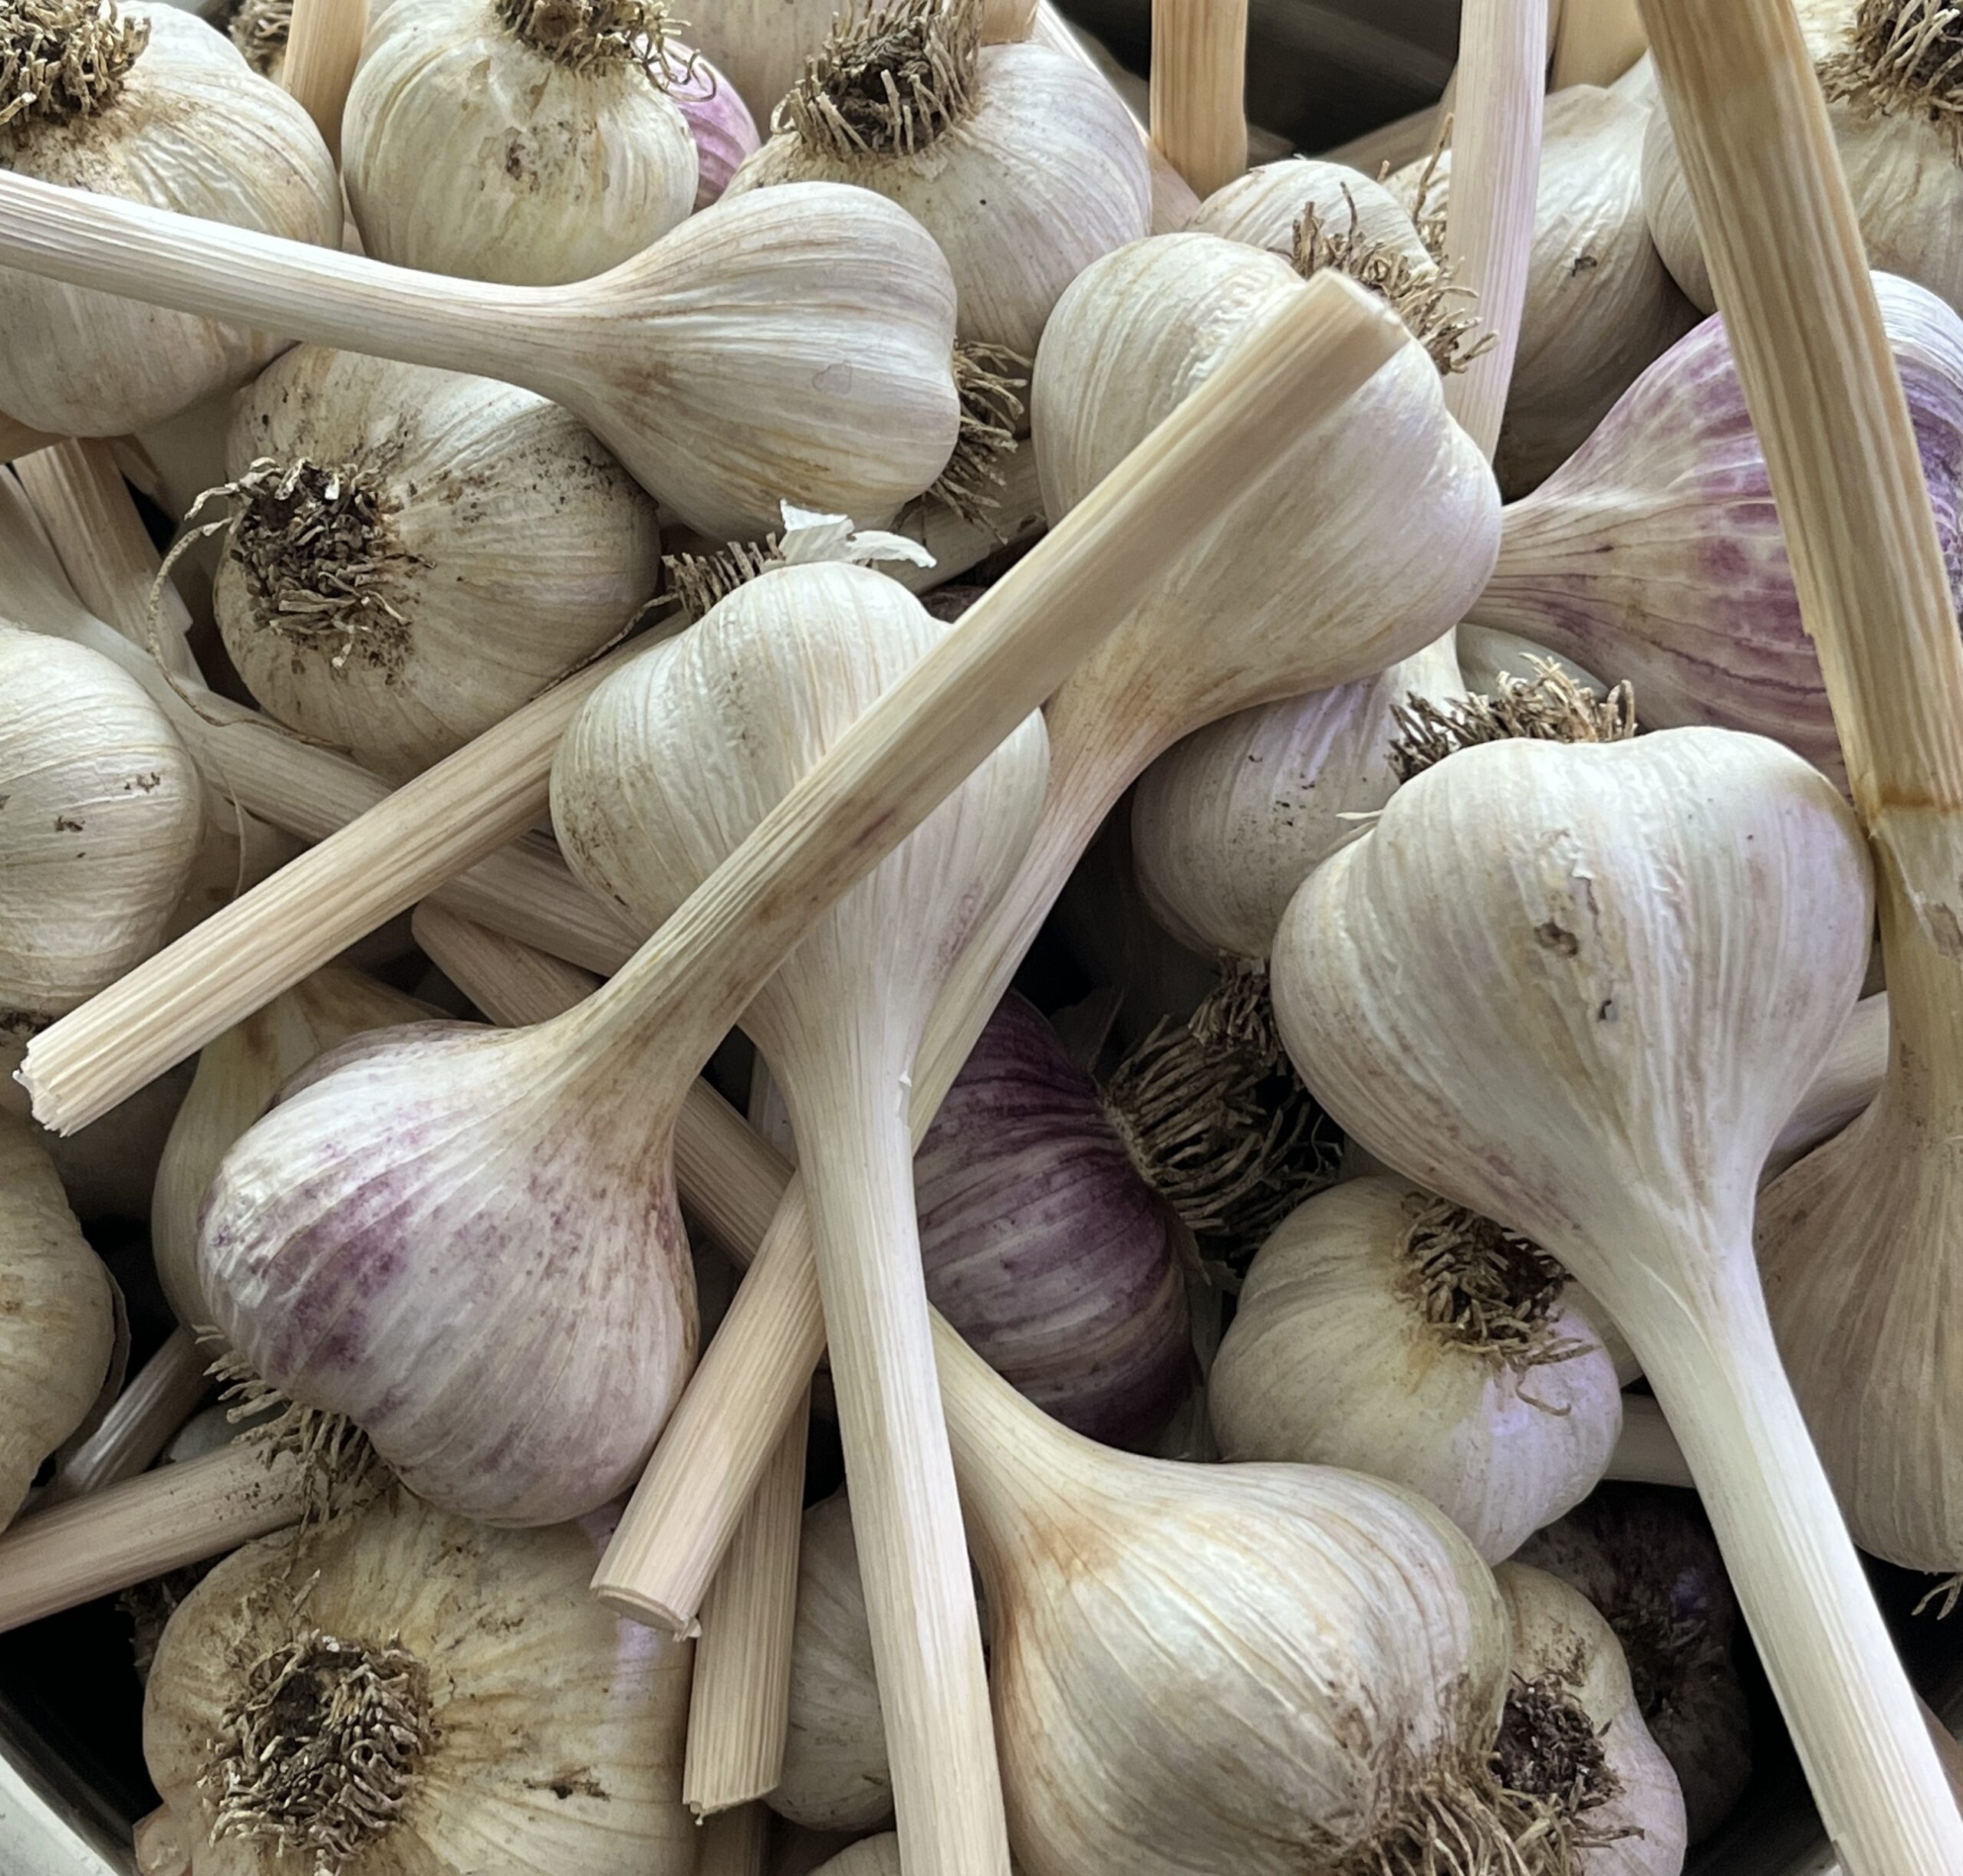
Plant garlic before the ground freezes. This is usually mid to late October on Vancouver Island and the greater PNW.
STEP 5: Clean Repair and Store
Clean, repair and store outdoor garden tools and equipment.
- Clean and sharpen all tools
- Lift and store soaker hoses (the flexible black type) to extend their life.
- Check fences, raised bed supports, compost bins for needed repairs.
- Bring in any garden art or decorative pieces that may get damaged by the winter weather.
STEP 6: Review
Review your garden results from this year to make adjustments to your garden plan for next year.
Resources
- Gilkeson, L.A. (2010). 2nd Ed. Year-Around Harvest Winter Gardening on the Coast. New Society Publishers, Gabriola Island, B.C.
- The Royal Horticultural Society (RHS) Team. (2025). RHS Pruning Groups.
- Thompson, Connie. (2021). Connie’s Dahlia’s. Friesen Press, Victoria
- Traunfeld, Jon. (2025). Row Covers. University of Maryland Extension.
- VIMGA. (2025). What are the basic pruning cuts? Vancouver Island Master Gardeners.
- VIMGA. (2025). What kind of mulch is best? Vancouver Island Master Gardeners.
Photo & Illustration Credits: Numbered by resource.
All other images/diagrams: CANVA or VIMGA members. 2026 Vancouver Island Master Gardeners Association

Vancouver Island Master Gardeners
Vancouver Island Master Gardeners are local volunteers who educate the gardening public with current, science-based and environmentally responsible horticultural information. As a chapter of the Master Gardeners Association of BC (MGABC), our program and priorities shape healthy communities and a healthy planet.